💎 Crypto
ATTENTION!
Due to Telegram Policy the only payment method allowed is payment via Telegram Stars.
If you decide to use the Crypto payment method, we assume no responsibility if anything goes wrong.
To configure the payment with crypto you must first start the bot with which the transactions will be managed. Let's then launch the @CryptoTestnetBot test bot:
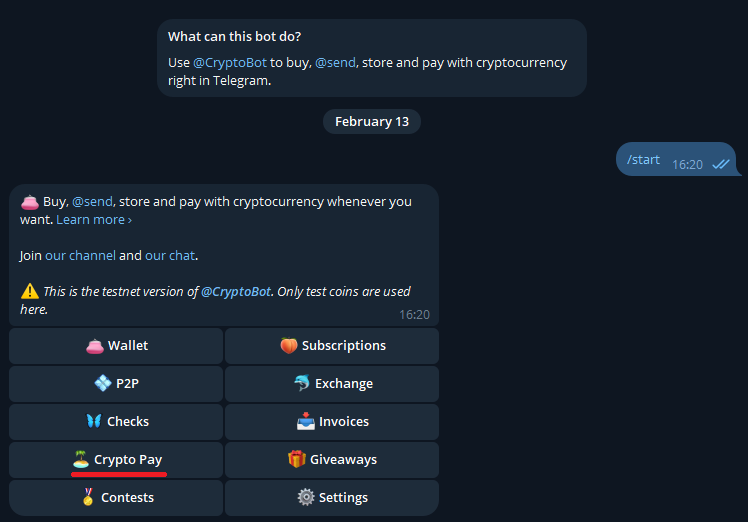
We press the “Crypto Pay” button to begin the payment configuration:
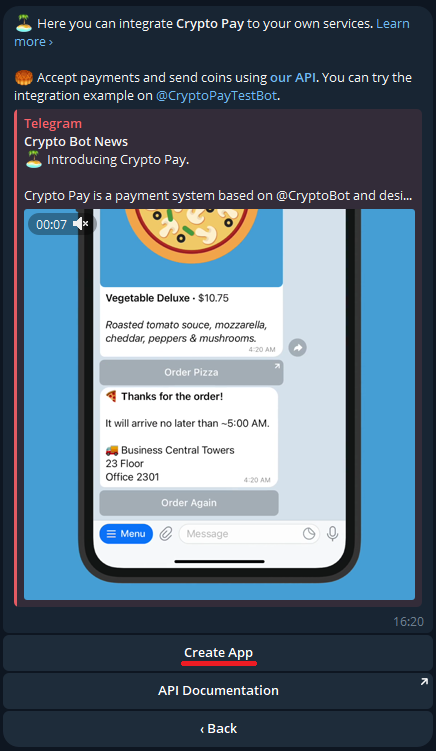
And then we press on “Create App”:
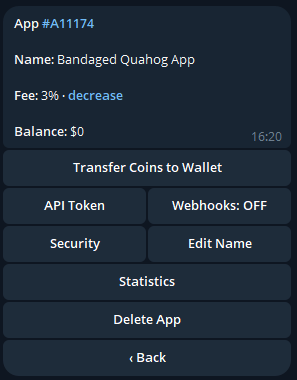
Finally we press on “Webhooks” and then on “Enable Webhook”:
At this point we will be asked to send the server URL:
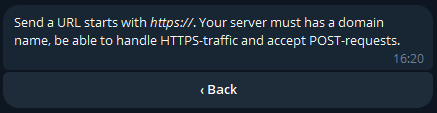
Then we send the Modular server URL https://cryptobot.modularbot.me/webhook
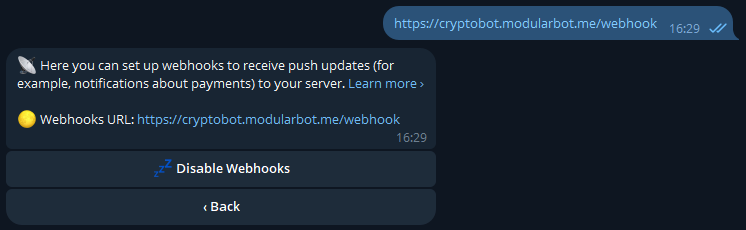
If the operation was successful you should find the URL in the bot's message.
Let's go back and verify that the “Webhook” option is ON:

We then press the “API Token” button:
The code in blue is your secret token for Crypto payments, keep it aside.
Never send your Crypto token to anyone else!
This token will be inserted in the appropriate space of the Modular-Shop management system.
So let's go to our bot in the shop section:
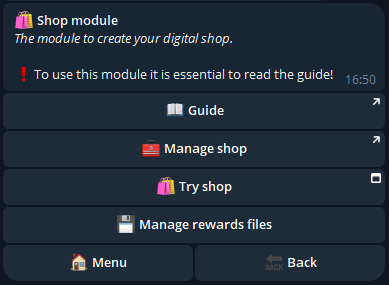
We press on “Manage shop” which will redirect us to our shop management system:
Press the “Settings” button at the top right to get to the payment methods configuration page.
We select “Crypto”, insert the Test Crypto Token that we saved a few steps back and press “Confirm”:
If the operation was successful, a check ☑️ will appear on the chosen payment method.
Let's now load some fictitious Cryptocurrencies into our Test wallet to try a payment with Crypto.
Let's first go back to the @CryptoTestnetBot home menu and press on
”Wallet” -> “Deposit” -> “Tether - USDT”:
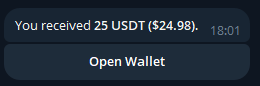
Finally we press on “TRON” -> “Get USDT”:
At this point, 25 USDT will be loaded into our test wallet that can be used for test payments:
We can now try a payment! Let’s open our shop by pressing on “Try the shop”, add a product to the cart and confirm:
At this point we will be redirected to the Crypto test bot, where we are asked what to pay with; we select the Cryptocurrency added previously and press on “Pay Now”:
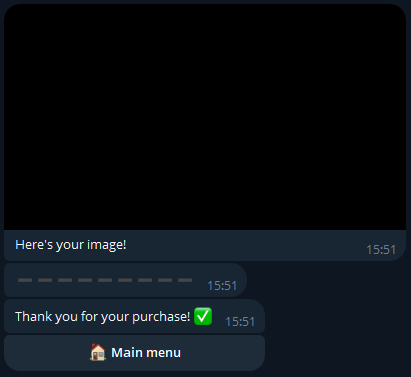
Once paid, the Crypto bot will confirm the payment while our bot will send us the reward for the product just purchased!
We have just seen how to configure Crypto payment in Test mode, we now need to also configure Real mode to allow customers to purchase our products.
To do this, simply follow the same procedure just described, but configuring the bot for real Crypto payments: @CryptoBot.
Finally, once all the steps have been carried out also for @CryptoBot, it is recommended to rename your payment "App", i.e. the name that users will see at the time of purchase, as follows:
After pressing “Crypto Pay” -> “My Apps” -> “Edit Name”, send the name of your shop.